Here's how to find out which graphics card or GPU you have on a Windows 11 PC or laptop.
You might want to check exactly which graphics card you have to see if you can run a particular application or game.
Read How to Check the Graphics Card Temperature on Windows 11?
I'll cover two separate methods in this post, feel free to choose one, but the second one might show you a little more information about the GPU, like how much video memory it has or current usage.
Use Device Manager to find out which graphics card you have on your laptop or PC
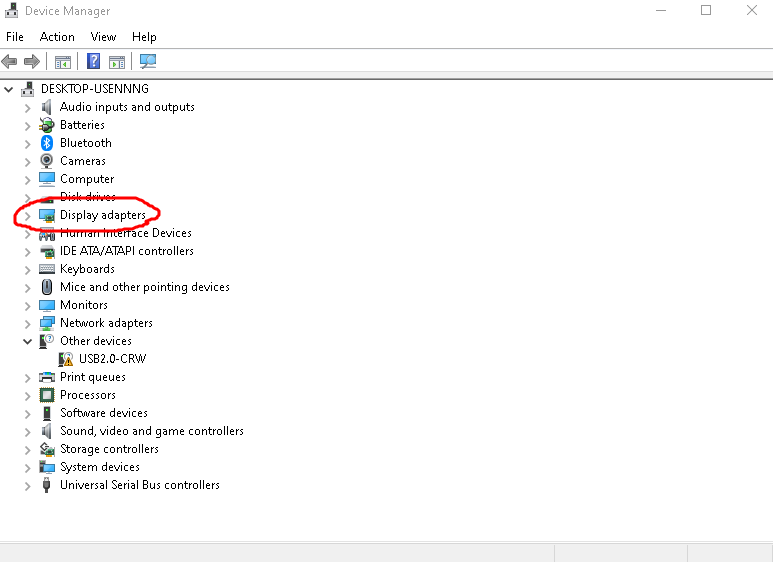
Head to the device manager, you can get there by searching for it in the search bar.
In the device manager, look down the list for the option called display adapters and then click on the arrow to the left of it to expand this section. Within this section, you should see the name of your graphics card.
Use Task Manager to find out which graphics card you have on your laptop or PC
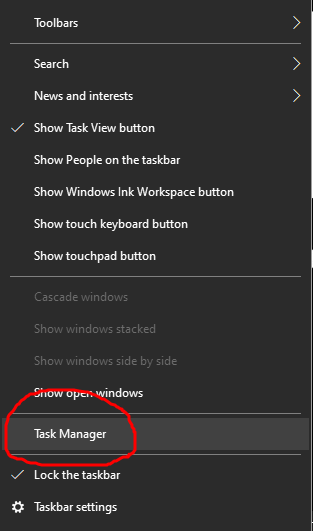
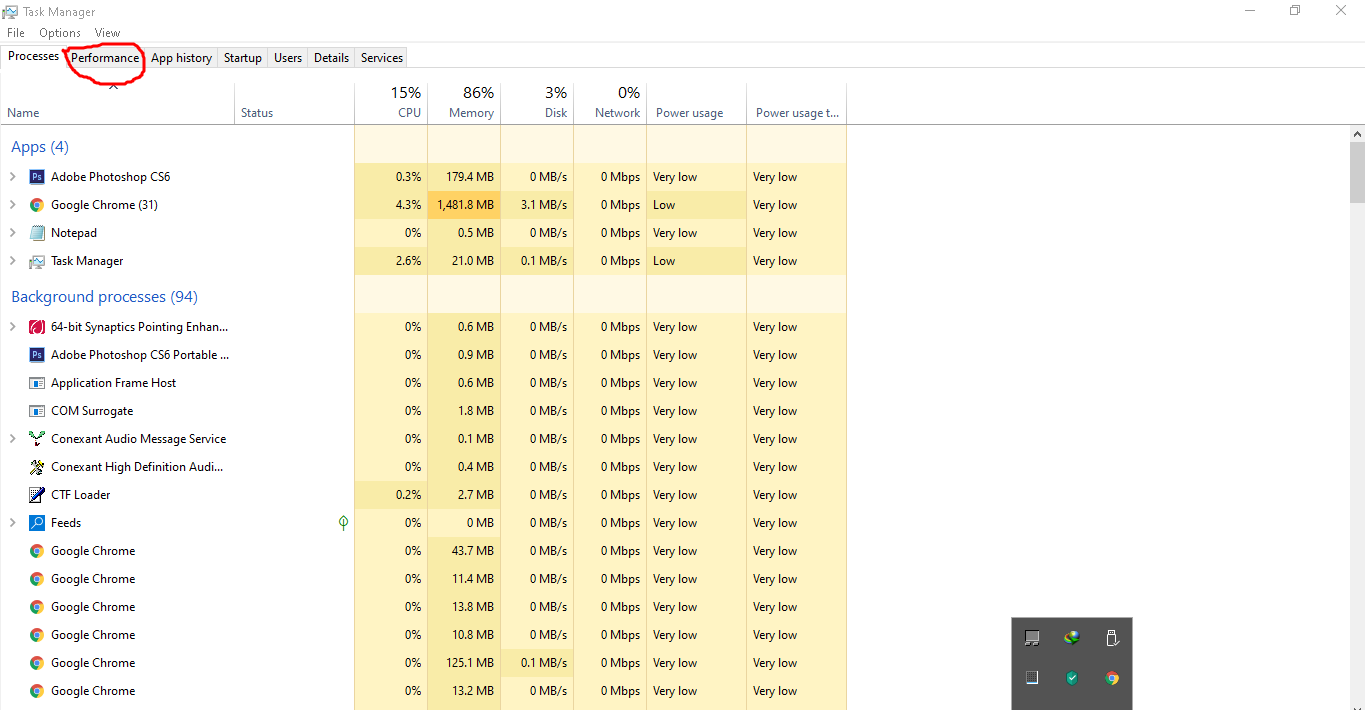
Open the task manager, you can do this by right-clicking on the start menu icon in the taskbar and then by selecting task manager from the list. When the task manager opens,
go to the performance tab. It should be the second option from the left. In here,
look down the list on the left side until you see the section called GPU and then click on that. It should be the bottom option on the list.
This page should display a few things about your graphics card, including its name and you should see extra information if you need it. You can close the window once you have the information you need.
And so that is how to find out what graphics card you have on a Windows 11 PC or laptop.


